

 English
 русский
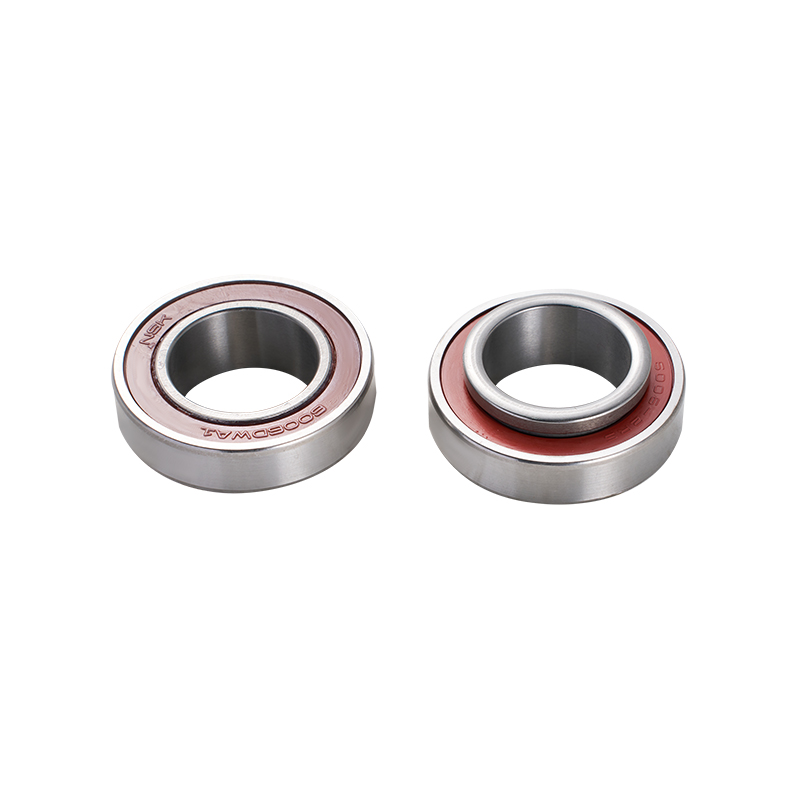
The hydraulic clutch throwout bearing is the component that directly interfaces with the clutch disc. It is responsible for the smooth disengagement and engagement of the clutch, which is critical for the seamless transfer of power from the engine to the transmission. This bearing is subject to high stress and wear, making the quality of its installation a key factor in its performance and longevity.
For those looking to upgrade their clutch system, a hydraulic release bearing kit is often the go-to solution. These kits typically include all the necessary components for a complete hydraulic clutch system upgrade, including the hydraulic clutch throwout bearing, a hydraulic master cylinder, and the necessary hoses and fittings. By selecting a high-quality hydraulic release bearing kit, vehicle owners can ensure that all components are compatible and designed to work together for good performance.
Installation Tips for a Hydraulic Clutch Throwout Bearing
1. Preparation is Key: Before beginning the installation of a hydraulic clutch throwout bearing, it is essential to gather all the necessary tools and materials. This includes the hydraulic release bearing kit, a torque wrench, a socket set, and a clean workspace. Ensuring that you have everything you need before starting can save time and prevent mistakes.
2. Remove the Old Bearing: Carefully remove the old clutch throwout bearing from the transmission. This process may vary depending on the vehicle make and model, so it's crucial to consult the vehicle's service manual for specific instructions. Remember to support the transmission with jack stands to prevent any accidents.
3. Inspect and Clean: Inspect the area around the hydraulic clutch throwout bearing for any signs of damage or wear. Clean the area thoroughly to ensure that no debris or dirt will interfere with the new bearing's operation.
4. Install the New Bearing: With the hydraulic release bearing kit, you'll have the new hydraulic clutch throwout bearing ready for installation. Apply a thin layer of high-quality grease to the bearing's contact points to ensure smooth operation. Carefully align the new bearing with the transmission and press it into place, making sure not to damage the bearing's outer race.
5. Secure the Bearing: Once the hydraulic clutch throwout bearing is in position, secure it with the appropriate hardware. Use a torque wrench to tighten the bolts or screws to the manufacturer's specified torque values to avoid over-tightening, which can damage the bearing.
6. Connect the Hydraulic System: With the hydraulic clutch throwout bearing installed, it's time to connect the hydraulic system. This includes attaching the hydraulic lines from the master cylinder to the bearing and ensuring that all connections are secure and leak-free.
7. Bleed the System: To remove any air from the hydraulic system, bleed the lines as per the manufacturer's instructions. This step is crucial for ensuring that the hydraulic clutch throwout bearing operates smoothly and without delay.
8. Test the System: After completing the installation, it's essential to test the hydraulic clutch system. Start the vehicle and test the clutch pedal's feel and operation. Ensure that the clutch disengages and engages smoothly without any unusual resistance or play.
9. Maintenance and Care: Regular maintenance of the hydraulic clutch throwout bearing is crucial for its longevity. This includes periodic inspections and greasing of the bearing, as well as checking for any signs of wear or damage.
By following these tips, vehicle owners can ensure that their hydraulic clutch bearing installation is successful, cause improved performance and reliability on the road.

